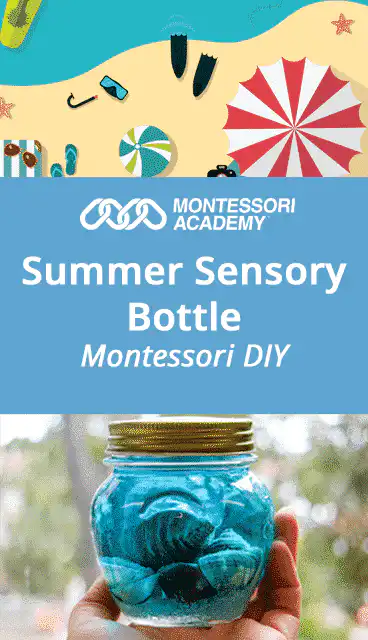
Handmade sensory bottles are a favourite in our Montessori classrooms! They give children of all ages the opportunity to explore all sorts of interesting materials in a fun and engaging way.
Sensory bottles are particularly popular with children aged one to three years, who are in the sensitive period for small objects. During this period, children are fixated on small objects and tiny details, which prepare the child’s mind for understanding how little things make up their world.
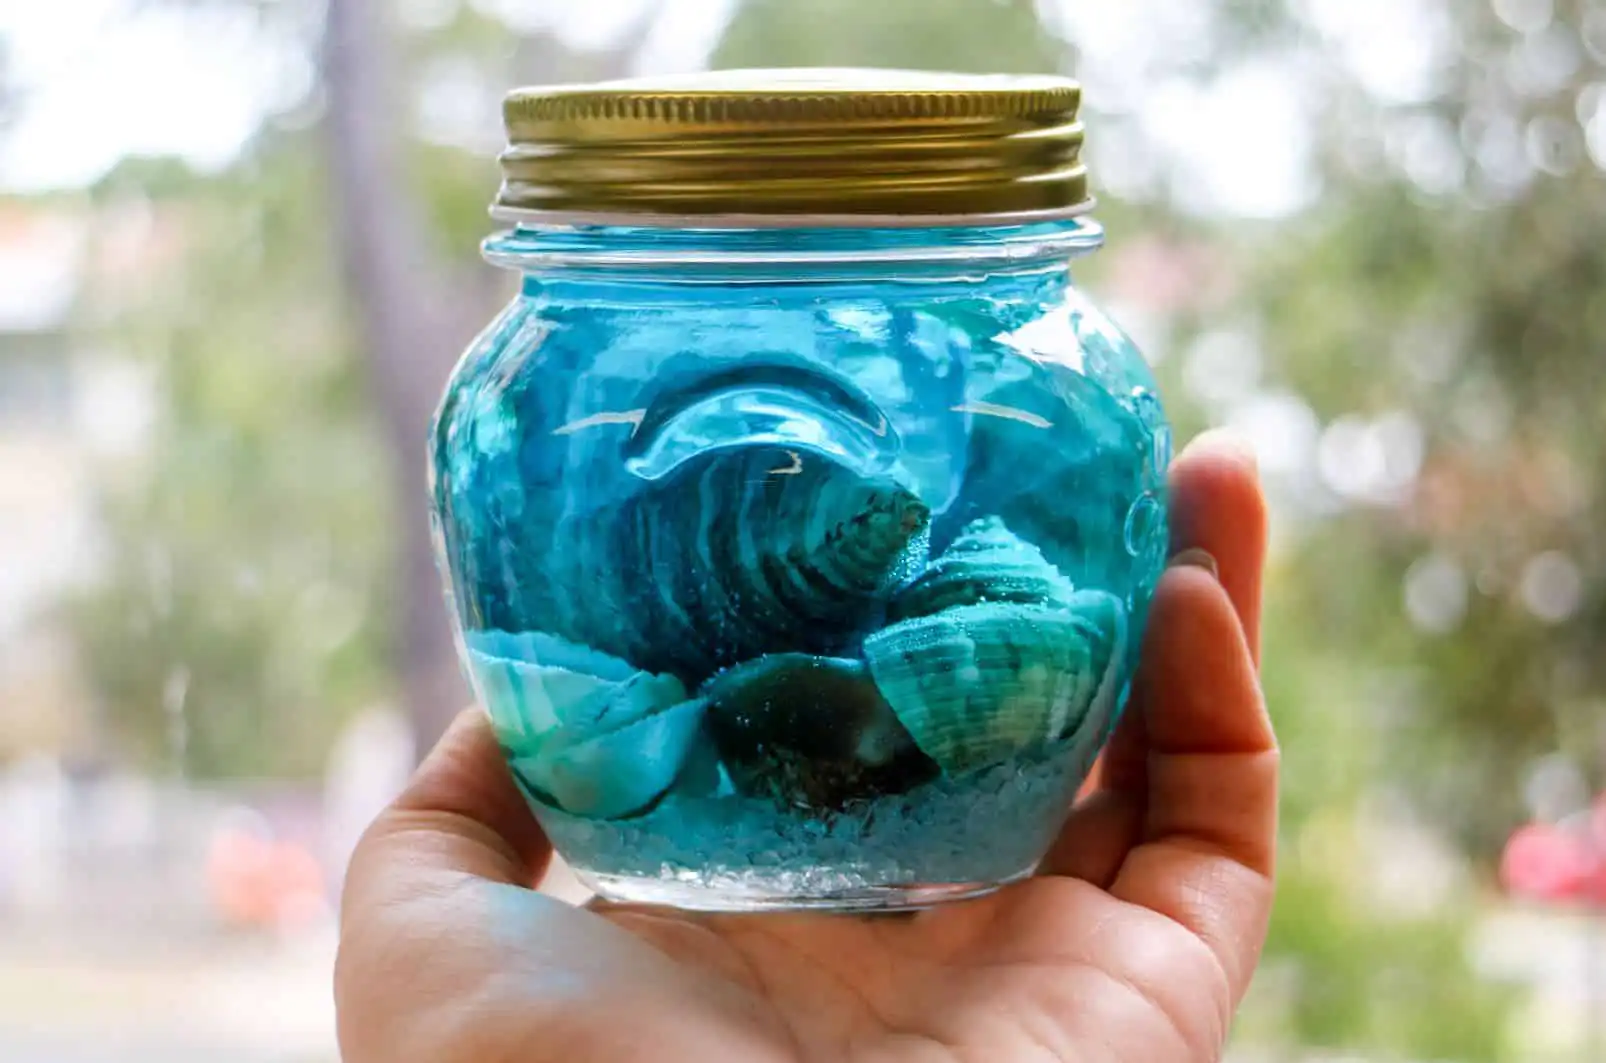
To celebrate the warmer months, we decided to make Summer themed sensory bottles using recycled jam jars, rock salt, blue food colouring, and beach shells collected by our students.
When completed by a child, our Summer sensory bottles encourage independence, the development of fine motor skills and concentration. It’s also a great chance to practice practical life skills such as object transfer using tongs, spooning, and pouring.
Some children also find the sensory bottles quite soothing, which makes them a wonderful activity for new children who are still settling in!
What You Need
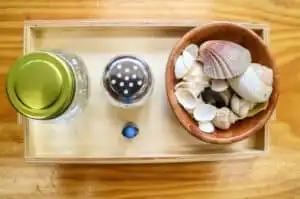
• Glass jars (for preschool aged children) or plastic bottles (for younger children)
• Beach shells
• Rock salt
• Small bowl
• Blue food colouring
• Work tray
• Tongs
• Super glue
What You Do
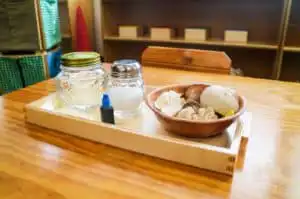
1. Lay out all the materials on a work tray
2. Unscrew the jar and fill it halfway with water
3. Add ¼ cup of rock salt
4. Add in the sea shells
5. Add a few drops of blue food colouring
6. Check the water levels, and if you’re happy screw the lid back onto the jar
7. Put some superglue in and around the edge of the lid and then twist it onto the jar tightly. Leave to set, and your Summer sensory bottle should be ready!
Make it a Montessori Activity
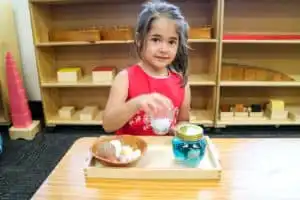
1. Lay out all the materials on a work tray from left to right (preferably in the order the child will use them)
2. Invite the child to work with the material and carry it to their work space
3. Explain how to do the activity by breaking it down into simple steps and invite the child to:
a. Pour the water into the glass jar
b. Spoon the salt into the jar
c. Use the tongs to transfer the shells from the bowl into the jar
d. Squeeze a few drops of food colouring into the mix.
e. Screw the lid on the jar shut
4. Follow the child’s lead and allow them to complete the activity independently
5. Guide the child through the activity as they ask for help
6. Encourage the child to explore the different sensory aspects of the materials
7. Assist with the final steps of the activity by ensuring the lid is screwed on tightly and the super gluing
8. Leave to dry for 15 minutes, and your Summer sensory bottle should be ready to shake!