Introducing the Metal Insets
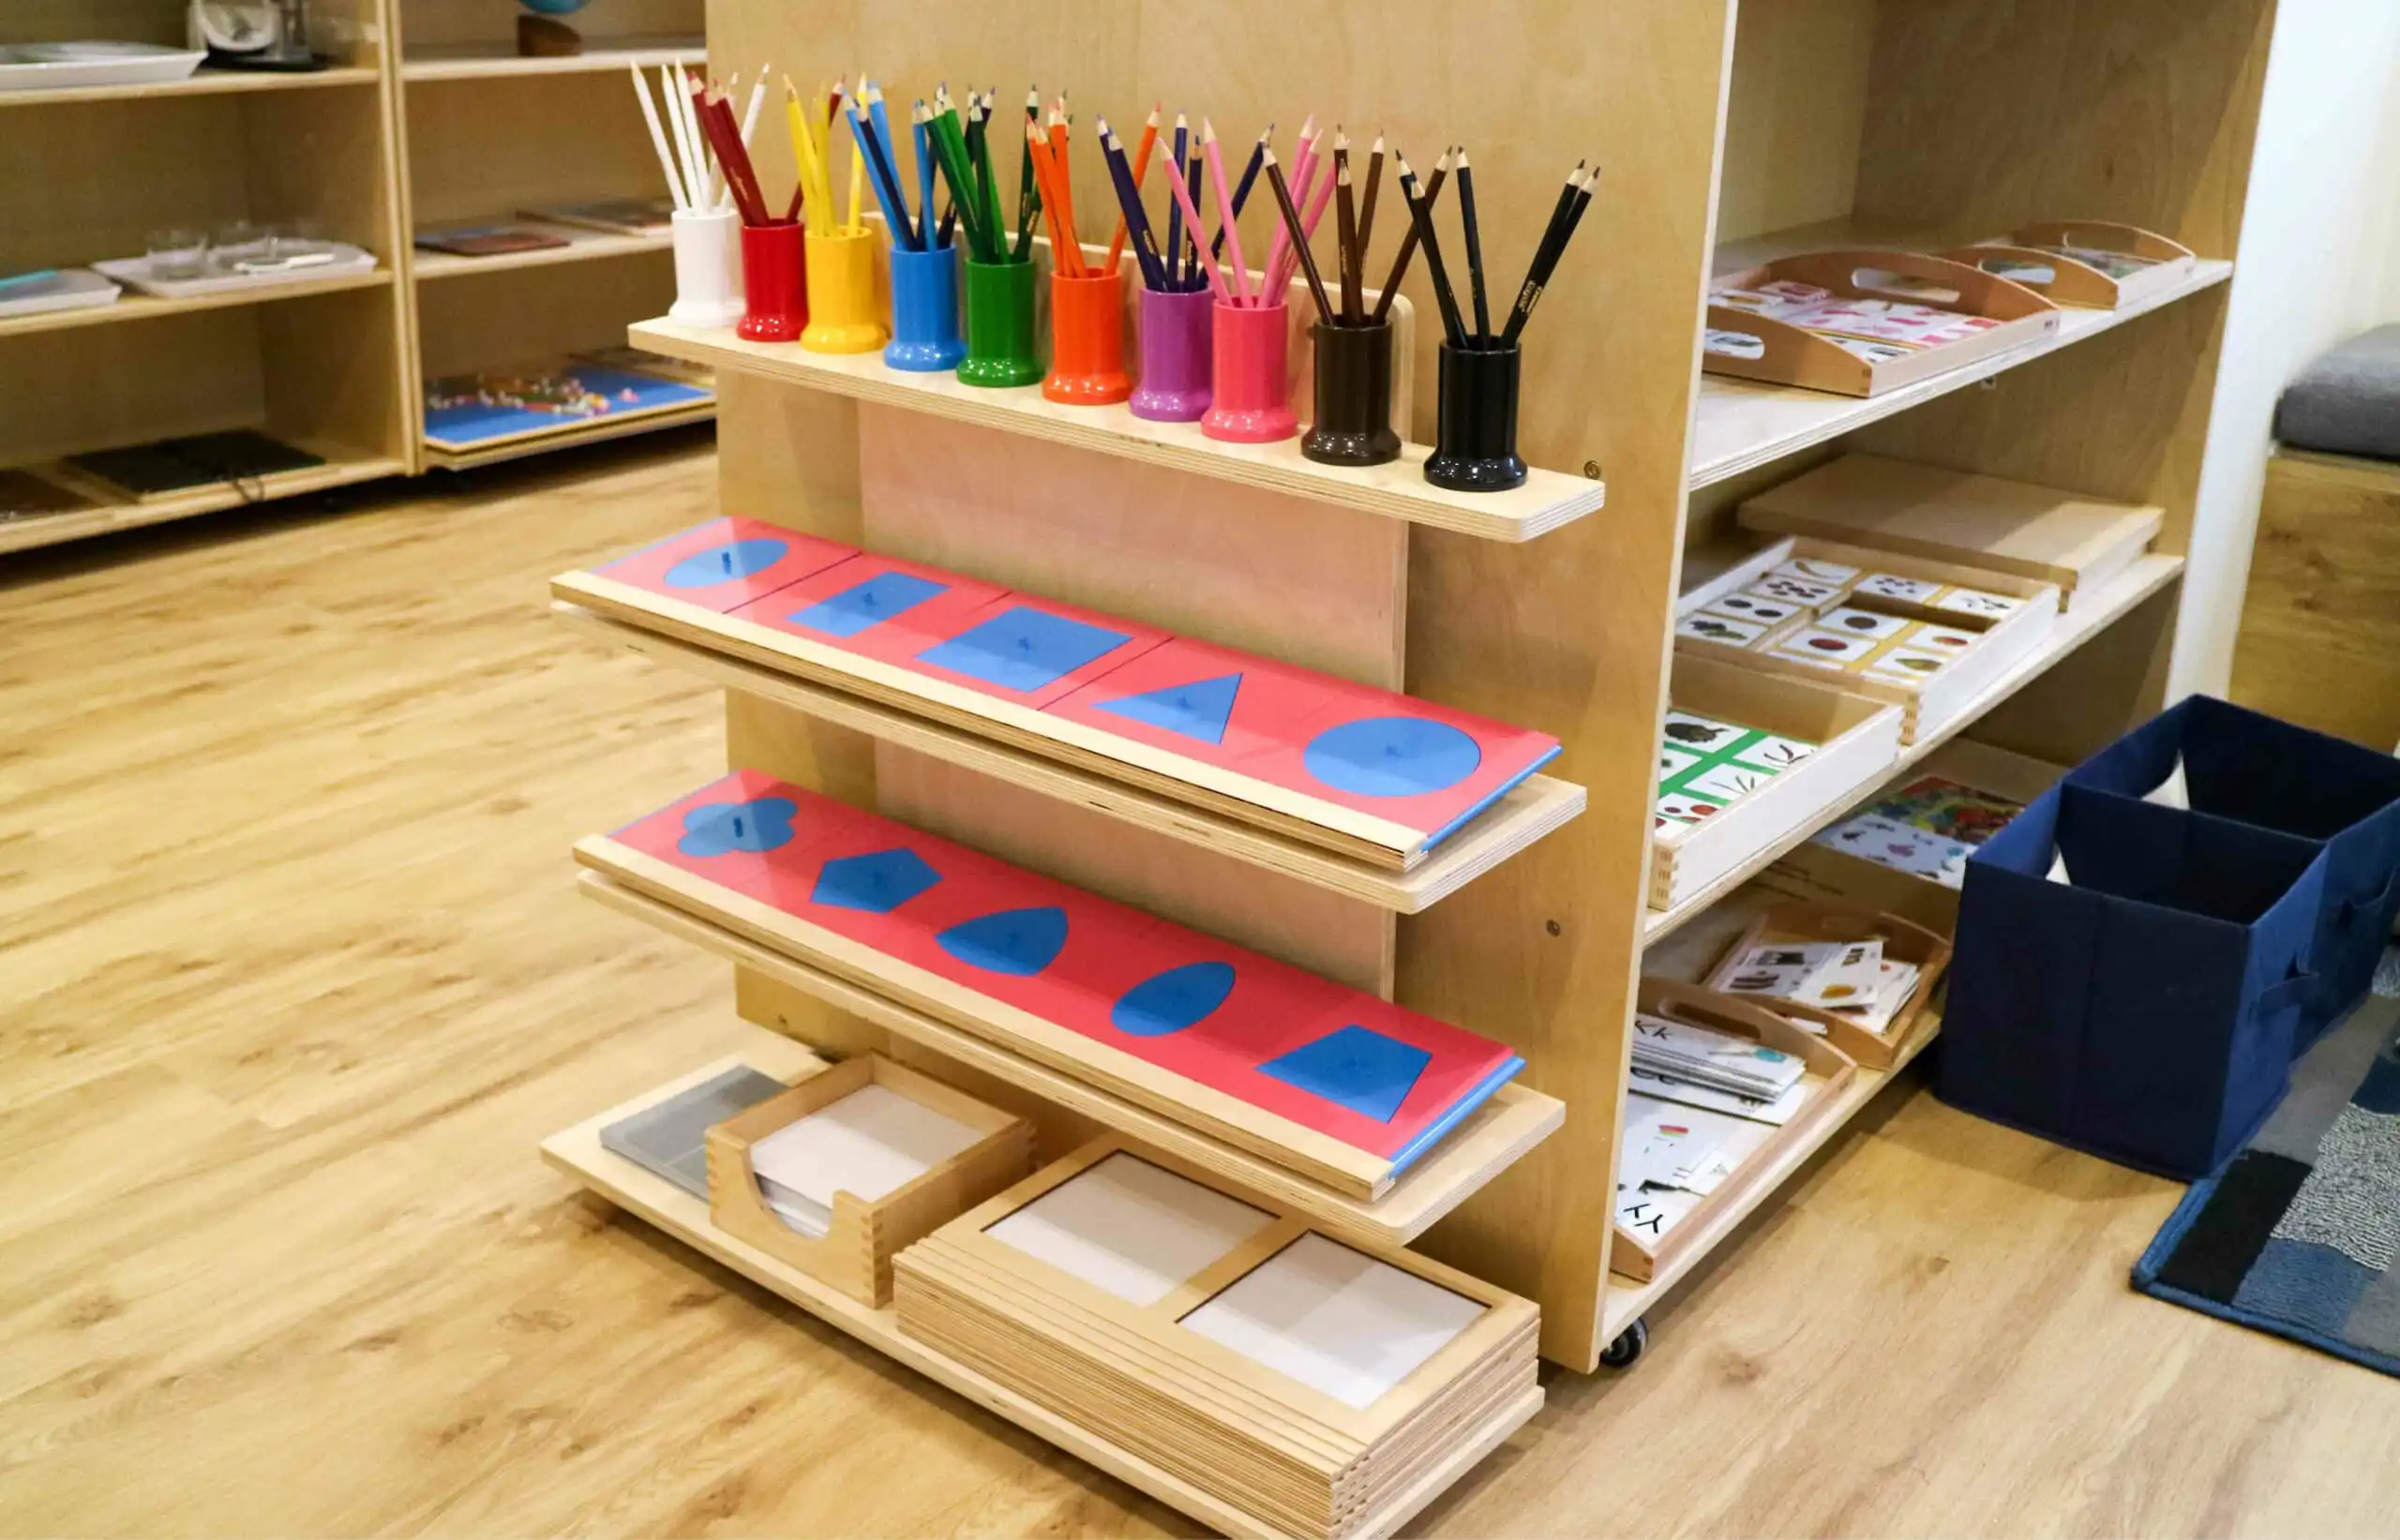
The Metal Insets are an essential component of the Montessori Language Curriculum, designed to help children prepare for writing. This eye-catching material includes ten metal shapes—each a different geometric form—framed in pink with a blue metal inset, each featuring a knob for easy handling. These shapes, including a square, triangle, circle, rectangle, and more complex forms like the quatrefoil and ellipse, allow children to explore various geometrical concepts while strengthening their fine motor skills.
The Metal Insets are displayed in a dedicated cabinet with an angled back, giving children easy access to the materials. Alongside the insets, the cabinet holds coloured pencils organised by colour on the top shelf, while the bottom shelf contains paper, pencil holders, and work trays. In total, 11 coloured pencils are used in the activities, helping children to experience different colours and shades as they draw.
Purpose and Benefits of Metal Insets
Children typically start using the Metal Insets between the ages of three and six. The primary purpose of this material is to support fine motor skill development—particularly pencil grip and control—as a preparation for writing. The Metal Insets also encourage skills in concentration, order, and creativity as children learn to draw within an outline and create intricate designs.
Key Benefits
The Metal Insets serve to:
- Prepare for writing by developing fine motor control and pencil grip
- Foster concentration and focus as children carefully work with the material
- Encourage hand-eye coordination and control of movement
- Introduce design concepts by exploring shape outlines and shading
Presentation One: Double Outline Activity
- Invite the child to join you in working with the Metal Insets and guide them to the cabinet.
- Gather your materials: a work tray, paper on the tray’s left, the child’s chosen metal inset on the right (often starting with a square), and two coloured pencils in the pencil holder.
- Set up at the table, arranging materials with paper and pencil holder on the left and the Metal Inset frame on top of the paper.
- Demonstrate the tracing process by using one coloured pencil to trace the inner edge of the pink frame, starting at the bottom and holding the frame steady.
- Place the blue inset shape over the outline you just created, then trace around the blue shape using the second coloured pencil to form a double outline.
After completing the outline, invite the child to try. Once mastered, children can proceed to the extension lessons, where they’ll learn to apply different pencil pressures to create light and dark shading effects, add pattern variations, and explore the artistic potential of combining two or more inset shapes.
Extension Lessons and Learning Outcomes
As children progress, they are introduced to additional lessons that enhance their understanding of art and design. These include:
- Pencil Pressure Control – Practising pressure control to create lighter and darker lines.
- Shading Techniques – Experimenting with shading techniques to add depth to outlines.
- Shape Combinations – Observing the effects and creativity that comes with combining different inset shapes.
These activities not only strengthen fine motor skills but also allow children to express creativity through unique, self-designed patterns.